
How to Design Your First 3D Model with AI
You Don't Need to Be a Designer
A few years ago, creating a custom 3D model meant learning CAD software, spending hours watching tutorials, and accepting that your first few attempts would look nothing like what you imagined. Today, that barrier is gone.
With AI-assisted design on 3D Powered By BP, you describe what you want in plain English and the system builds a 3D model for you. No CAD skills, no design background, no expensive software. A clear idea and a few words are all you need.
This guide walks you through the real flow: from writing your first prompt to downloading a print-ready STL file.
Step 1: Create an Account and Get Your Free Credits
Head to the AI Studio and sign up. It takes about 30 seconds, and you receive 15 free credits the moment you confirm your account. Those credits are enough to run the preview-and-model flow at least once. Unlocking the STL download costs 20 credits, so you will need to top up before downloading your file.
Credits & costs: what to expect
You must be logged in to generate anything in the Studio. New accounts receive 15 free credits instantly on sign-up. Here is what each action costs:
- Generate Preview: images from different AI models to choose from 2 credits
- Generate 3D Model: built from your chosen preview image 5 credits
- Unlock STL Download: the print-ready file 20 credits
Your 15 sign-up credits cover the full preview-and-model flow at least once before you need to top up.
Step 2: Write Your First Prompt
The prompt is your design brief. The AI reads it and generates images showing what your model will look like, so the more clearly you describe the object, the closer the result will be to what you had in mind.
For your first attempt, keep the prompt concrete and specific. Instead of writing "a cup", try:
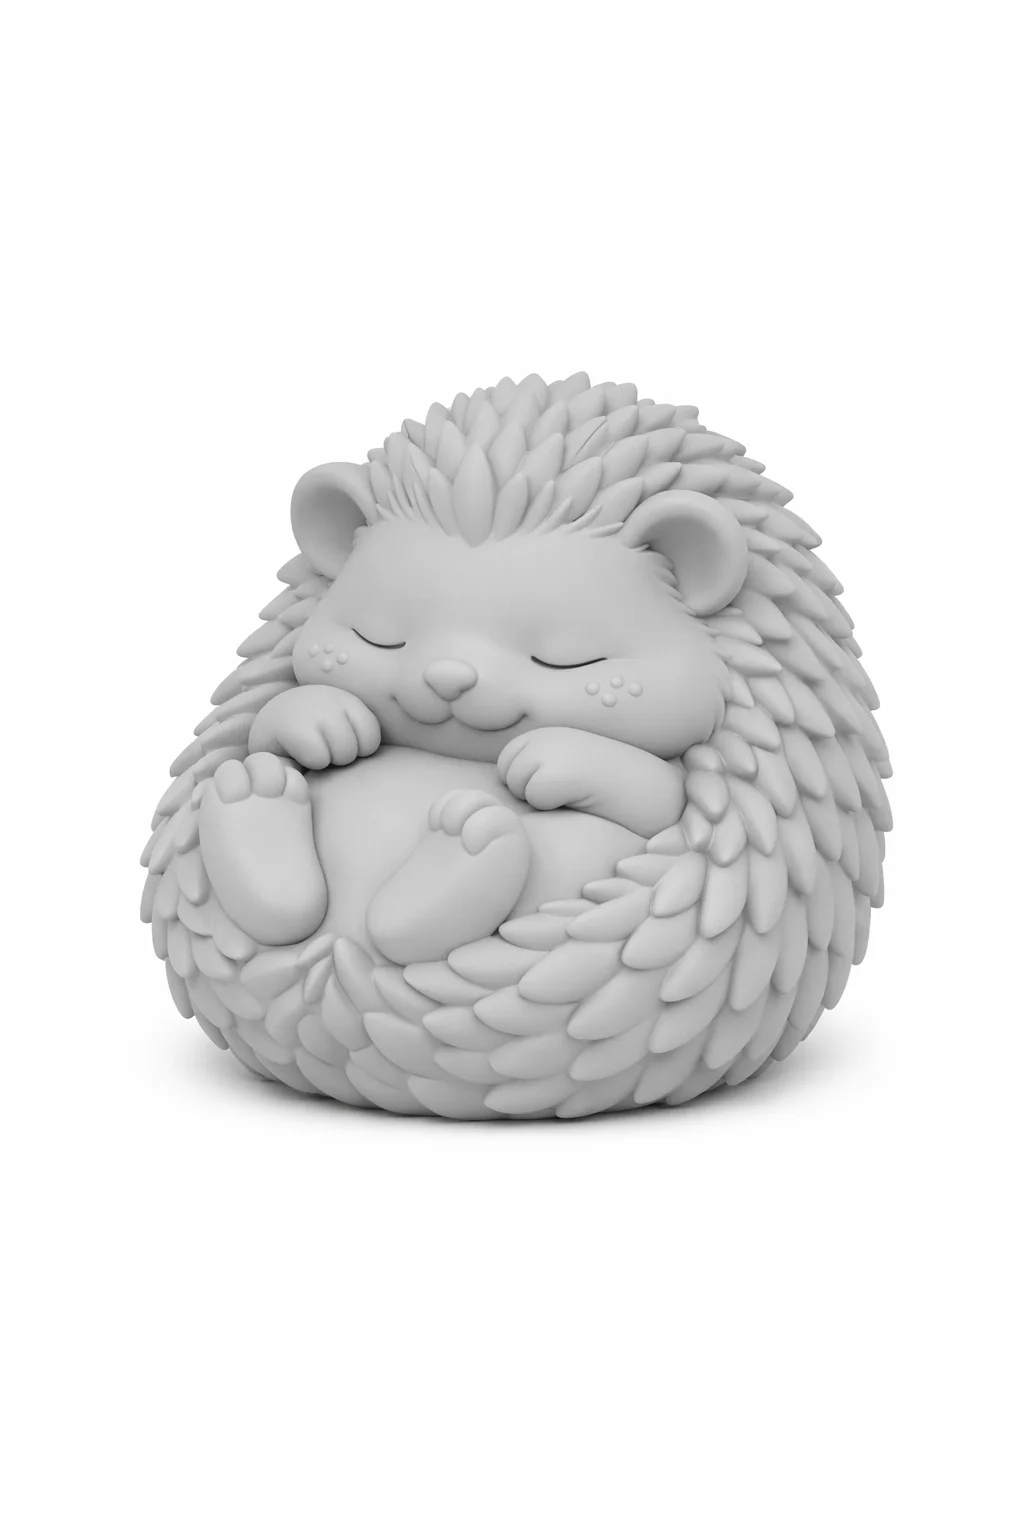
A chubby hedgehog figurine with tiny rosy cheeks, curled up fast asleep.
Good prompts include these four ingredients:
- Shape and structure: cylindrical, flat, tapered, hollow, solid
- Rough dimensions: small, about 10 cm, fits in the palm of a hand
- Function: holds liquid, sits on a shelf, clips onto a strap
- Style: minimalist, geometric, organic, decorative
You do not need to be exact. Write the way you would describe the object to a friend.
Step 3: Generate a Preview and Pick Your Favourite
Click Generate Preview. The Studio runs your prompt through several different AI models and returns a set of images, each one a different interpretation of what you described. Browse through them and pick the one that best matches your vision. That image is what the AI will use to build the 3D model.
Take a moment here. Ask yourself:
- Does the overall shape match what I had in mind?
- Are any important details missing or distorted?
- Is the scale roughly right?
If none of the previews are close enough, go back and refine your prompt before spending credits on the model step. Small additions, such as "add a lip around the rim" or "make the walls thinner", often produce a noticeably better set of previews on the next attempt.
Step 4: Generate the 3D Model
Once you have chosen a preview image, click Generate 3D Model. The Studio builds the full 3D model from that image. When it is ready, you can rotate it, zoom in, and inspect it from every angle directly in the browser.
If the model needs to be a different size, use the resize controls to grow or shrink it before downloading. Check that the proportions look right. This is your last chance to adjust before the file is locked for printing.
Step 5: Unlock the STL and Print
When you are happy with the model, click Unlock STL Download to get the file. STL is the standard format accepted by virtually every 3D printer and print service.
If you own a printer, import the file into your slicing software (Cura, PrusaSlicer, Bambu Studio) and print it at home.
If you do not own a printer, you can order a professional print directly from 3D Powered By BP. Choose your material (PLA is reliable for everyday objects, resin for finer detail), pick a colour, and place the order. Most prints ship within a few business days.
What Can You Make?
The AI Studio handles a wide range of objects: desk organisers, plant pots, replacement parts, toys, jewellery, figurines, phone stands, cable clips, keychains, and much more. If you can describe it in words, it can usually be modelled.
The main limitation is mechanical complexity. Very intricate moving parts, such as gears that mesh together or hinges with tight tolerances, may need several iterations or a more detailed prompt. For most everyday objects, one or two attempts gets you most of the way there.
Common Beginner Mistakes
Being too vague. "Make a box" produces a plain box. "Make a small rectangular storage box with a removable lid and rounded corners" produces something you will actually want to print.
Expecting perfection on the first try. The AI is a collaborator, not a vending machine. Plan to iterate. Most people find a satisfying result within two or three attempts.
Skipping the preview step. The preview exists so you can validate the direction before spending the larger credit cost on the full model. Use it. A 2-credit check can save you a 5-credit regeneration.
Ignoring scale. The AI produces a model at a default scale. Always check the dimensions in your slicer or adjust them in the Studio before unlocking the download.
Ready to Make Something?
You have 15 free credits waiting for you. Open the AI Studio, describe what you want to make, and click Generate Preview to see your idea take shape.
The prompt box is ready when you are.